Chat
If agent wants to Switch to Chat Media for the Current session then need to click on Chat Icon.here agent can see Assign Chat Count and Waiting Visitor count & At the Top Total Count Will be displayed.
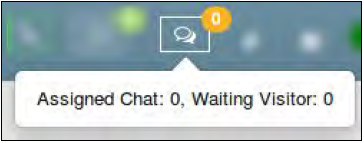
By Clicking on Chat Icon, Agent Will be Redirect to Chat page which is looks like as shown in below image when there is no Active chat found.

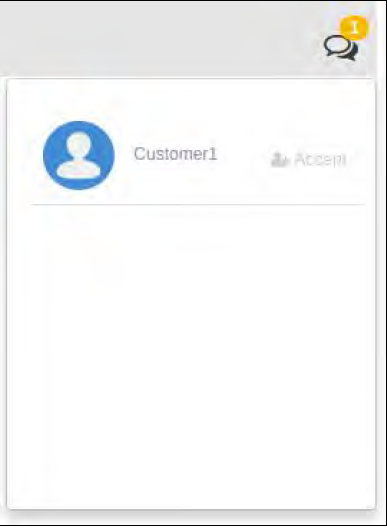
At the left Corner, Chat Count will be displayed Which are currently Assign to that agent. At the Right corner Waiting visitor Count Will be displayed from Where Agent can Accept the Chat by Clicking on Accept as seen in below image.
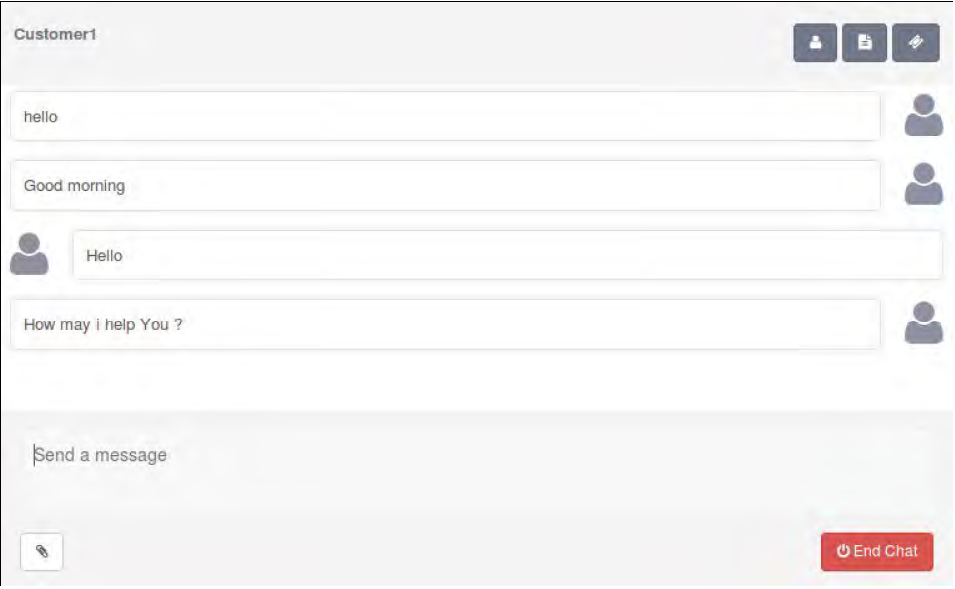
Once the Chat is Accepted by the agent, page will be looks like as seen below.
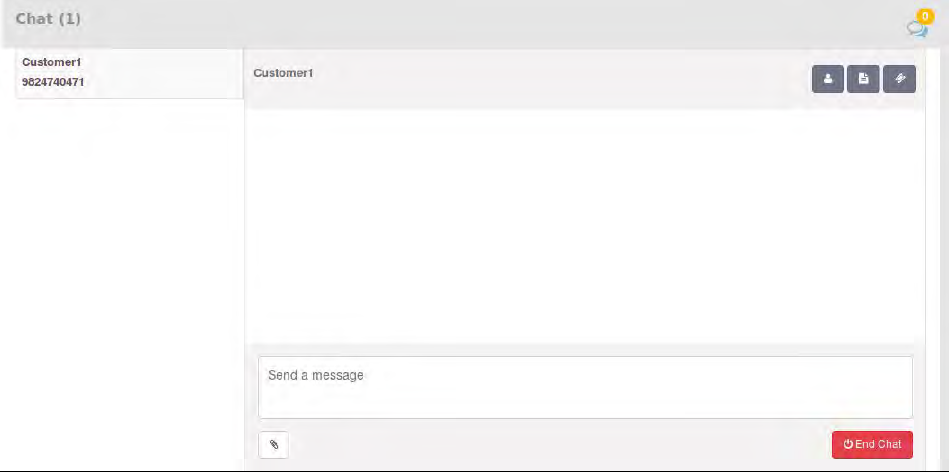
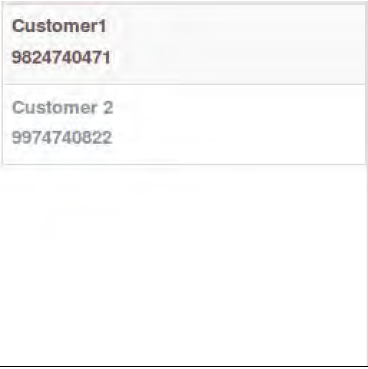
At the Left Side, All the Assigned Chat Will be listed with the information like Customer name and Phone number.
At the Right Side, Chat Conversation will be displayed as seen on below image.
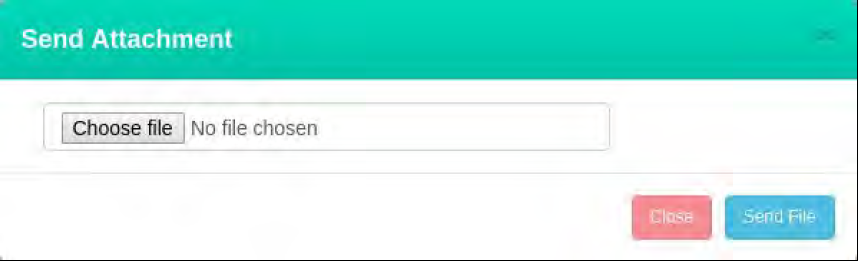
Agent can send Attachment by Clicking on Send Attachment button, it open pop-up to select file as seen in below image.
At the Right Side, There are three options are available.
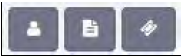
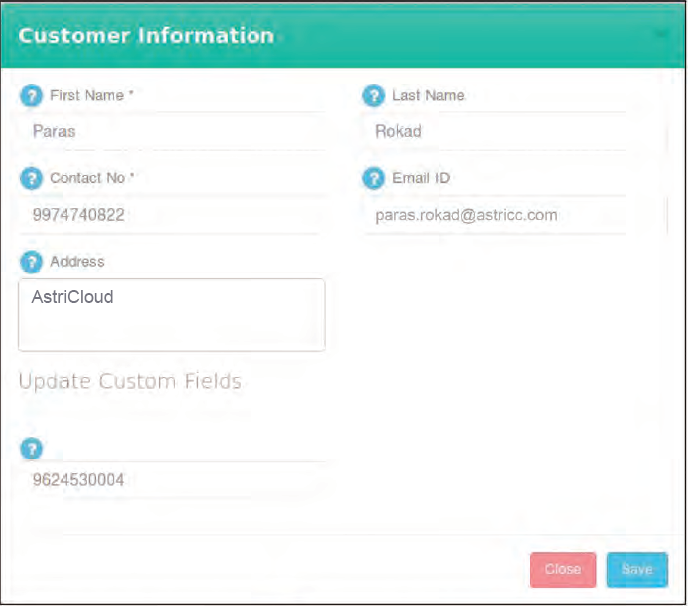
Customer information -By clicking on Customer Icon button, agent can see complete customer information for the particular chat if the same customer details exists in the customer table
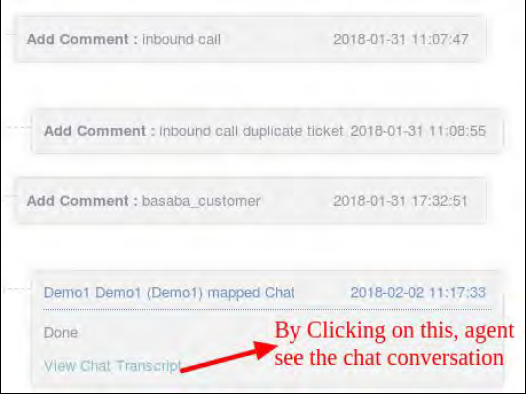
Assign ticket – By clicking on document icon, agent can assign previous ticket of the same customer to this chat which are created/received by agent. Once the ticket is assigned, chat transcript will be added to the particular ticket conversation as seen in below image.
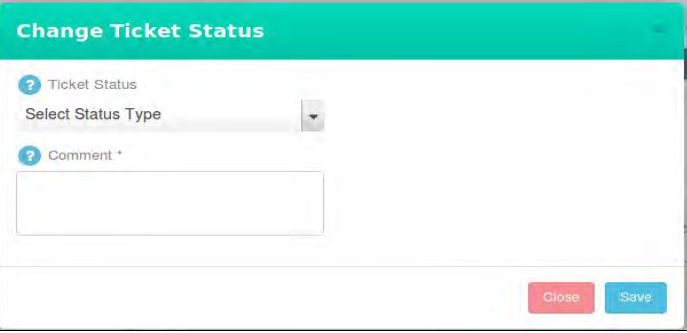
Change Ticket Status – By Clicking on Change Ticket status Icon, agent can change the status of the Tickets.
To end the chat, agent need to click on End chat button

Leave A Comment?