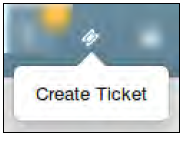
By Clicking Create Ticket Icon, Agent Will be able to create Ticket For the Customer.
 All the Created Ticket using “Create Ticket”, will be displayed in the Ticket Details page.
The page will be looks like as seen in the below image.
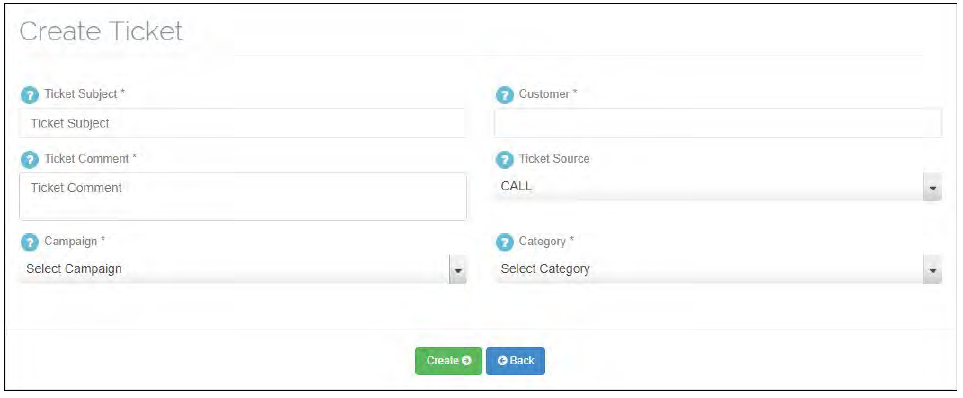
Apart from the Self Explanatory fields, below are as follow –
Ticket subject – Subject of the Ticket.
Customer – Select the Customer name for which ticket is created.
Ticket Comment – Brief Description of the ticket.
Ticket source – Select Ticket source, through which Ticket is belongs to (i.e Call, Chat and Email).
Example – Suppose Customer call and he/she wants to register complaint, then in this case agent can create Ticket by selecting origination medium as “Call”.
Campaign – Select the campaign of which outgoing mail server will be used
when Agent reply to that Ticket from the compose mail section.
Category – Select the Category for which ticket is belongs to.
Note :- Also, Agent Can create Ticket While Call is going on.
Break – This button is used by the agent to punch ‘Break’. If the agent wants to go out for a break, he/she can punch break. On returning, the same button will be ‘In’ to punch in again. When the agent will be on a break, he won’t Receive/Dial any calls.
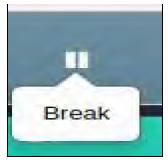
Click on break button and select break type.

Note :- Now Agent can punch Break while Call is Ringing/Answered,but Break Time Will be Considered once call is hangup.

Leave A Comment?