If agent wants to Switch to Social Media for the Current session then need to click on Social Media Icon. Here agent can see Assigned Ticket and waiting user & At the Top Total Count Will be displayed. By Clicking on Social Media Icon, Agent Will be Redirect to Social Media page which is looks like as shown in below image.
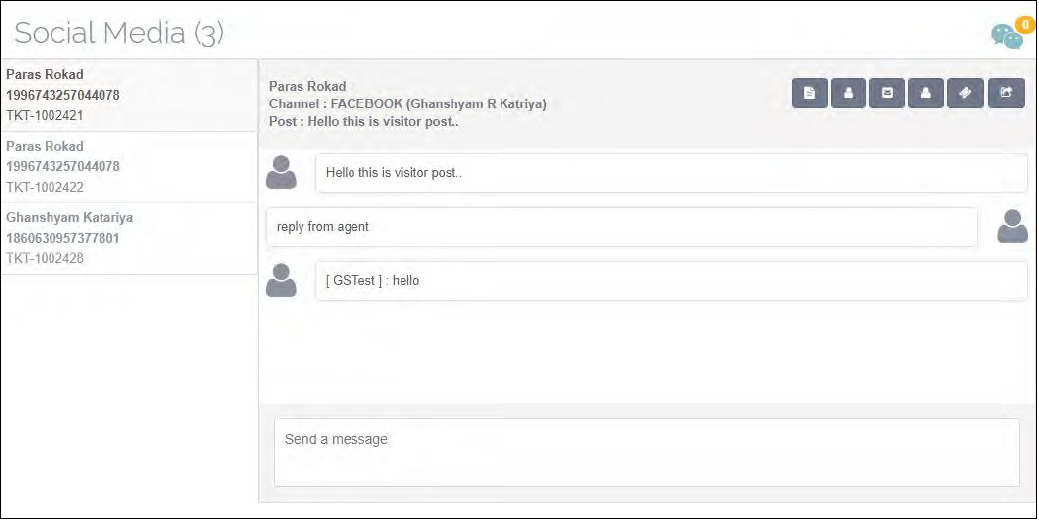
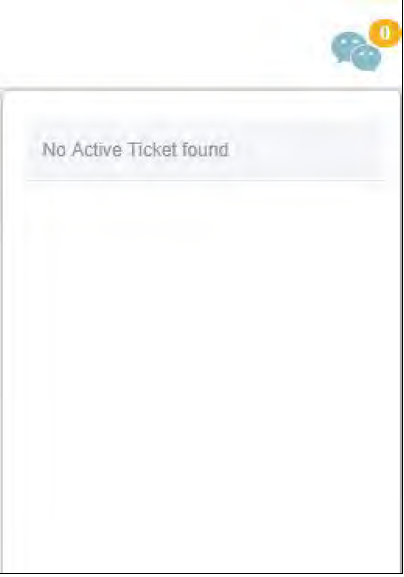
At the left Corner, Social Media Count will be displayed. At the Right corner Incoming Social Media Count Will be displayed from Where Agent can Manually Assign Social Media to himself as seen in below image.
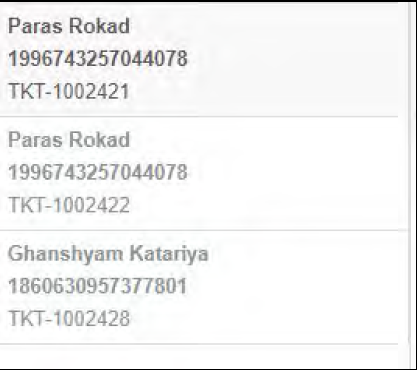
At the Left Side, All the Assigned Social Media Will be listed with the information like Customer name, Conversation ID and Ticket ID if mapped as seen in below image.
At the Right Side, Social Media Conversation will be displayed as seen on below image.
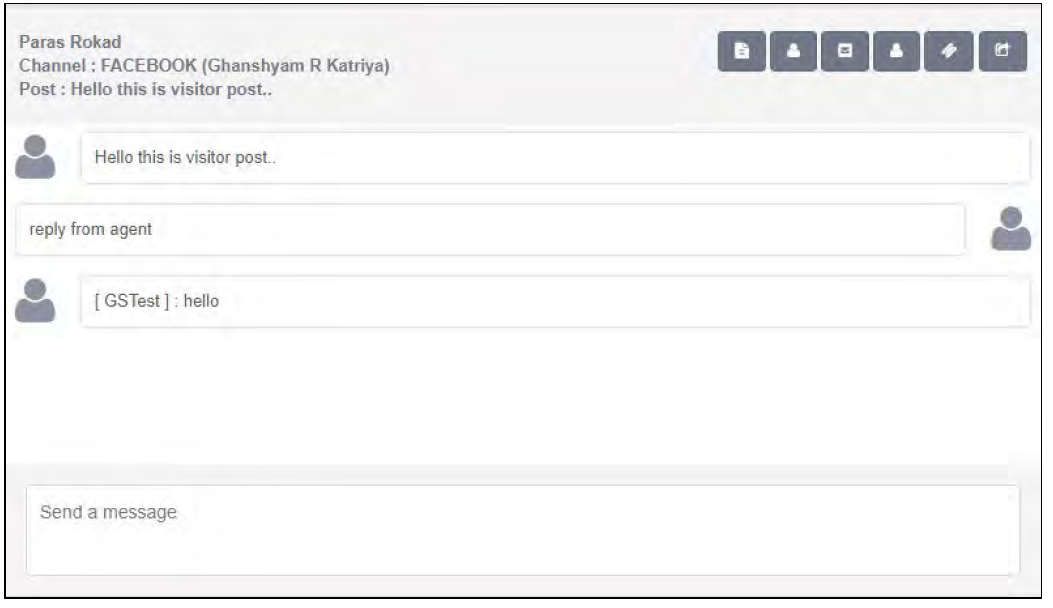
At the Right Side, There are Six options are available.
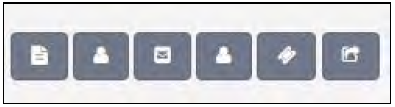
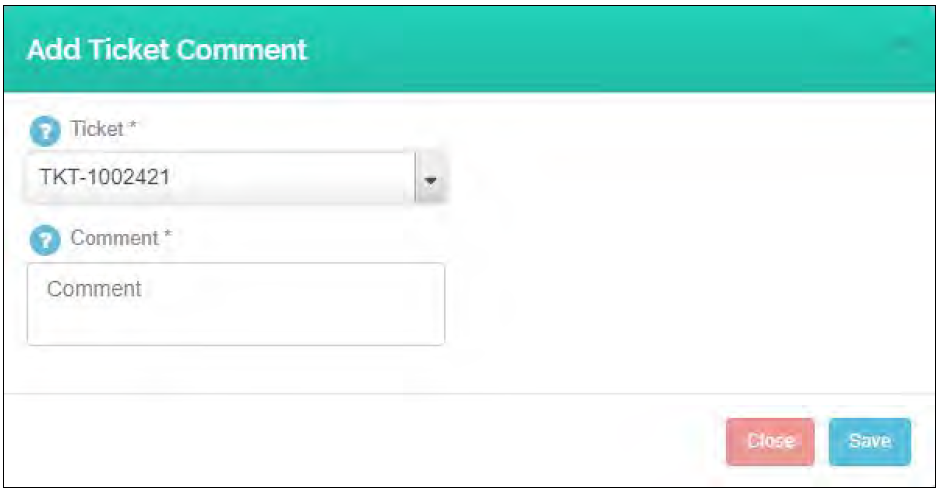
Add Comment – By Clicking on (Add Comment) Icon, Agent can add comment to the Tickets.
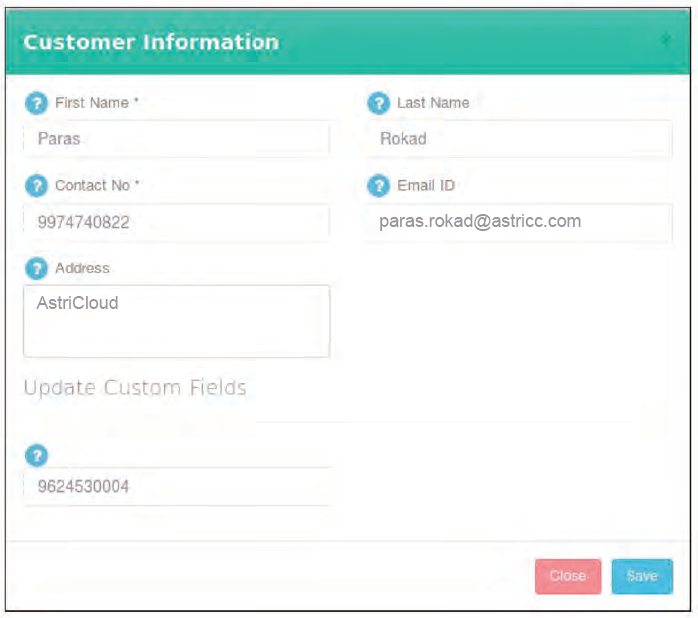
Customer Information – By Clicking on (Customer Info.) icon, Agent Can See the Complete Customer Information for the particular Tickets.
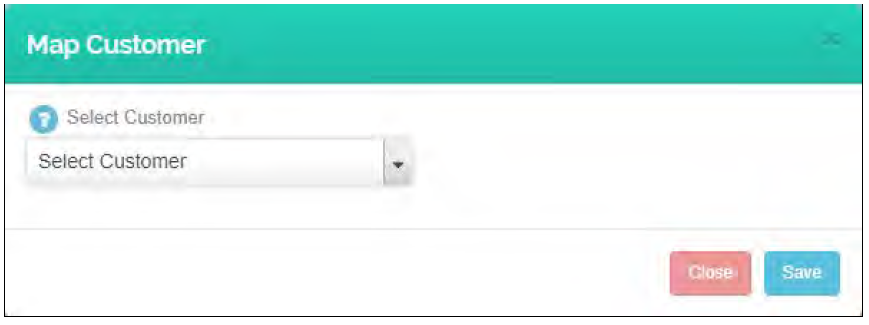
Post Details – By clicking on icon, agent can map the customer with the conversation
Change Ticket Status – By Clicking on Change Ticket status Icon, agent can change the status of the Tickets.
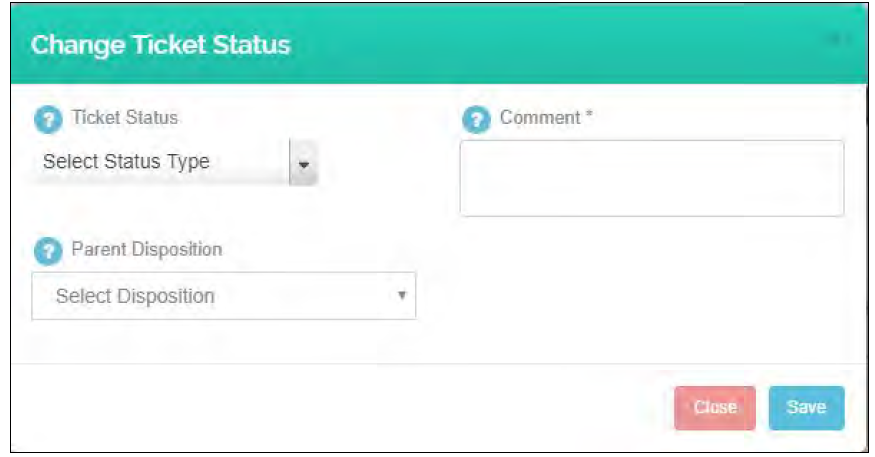
Also, Agent need to select Disposition when changing Status of the ticket.
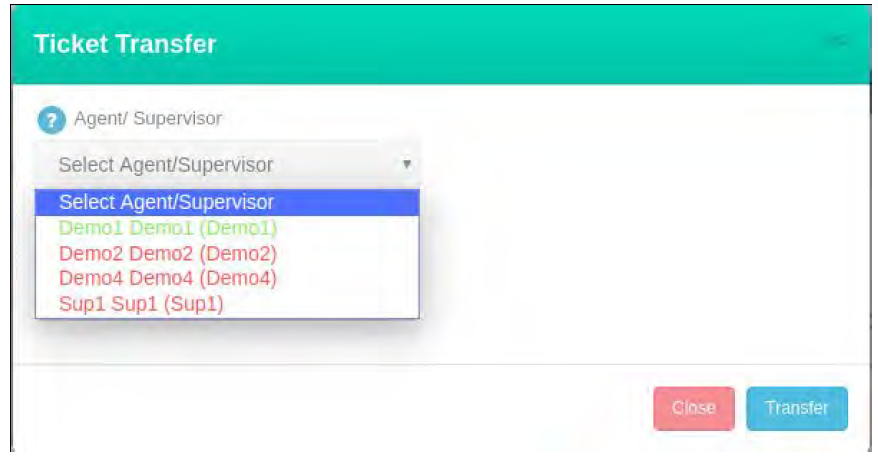
Transfer – By Clicking on Icon, agent can Transfer his own tickets to the Other Agent/ Supervisor.
Note :- Here, Logged in agent will be indicate with Green Icon and Logged out agent will be indicate with Red Icon.
Leave A Comment?