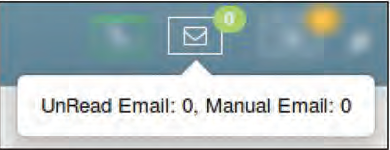
If agent wants to Switch to Email Media for the Current session then need to click on Email Icon. Here agent can see Unread email Count and Manual Email count & at the Top Total Count will be displayed
By clicking on Email Icon, agent will be redirect to email details page which is looks like as shown in below image.
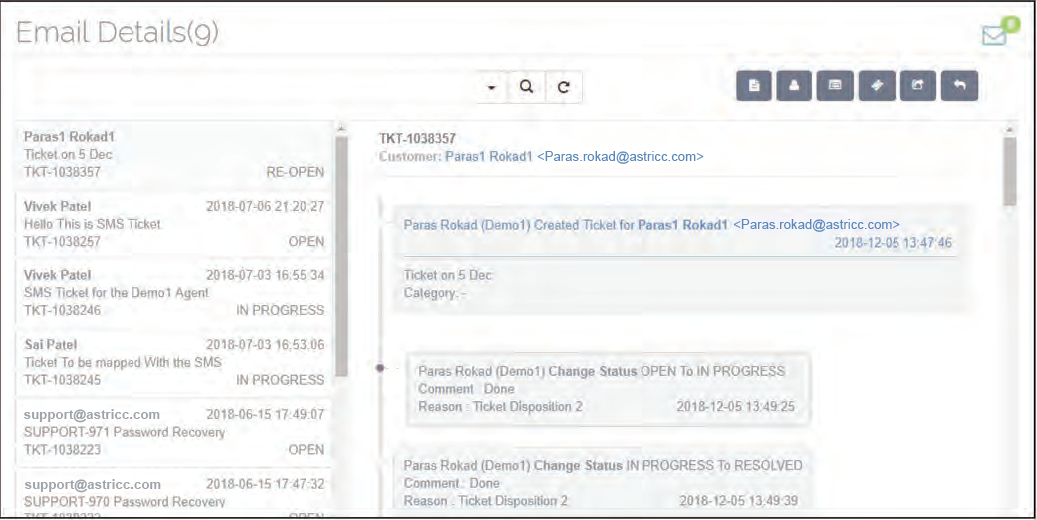
At the left, email count will be displayed
At the right corner Incoming email count will be displayed from where agent can manually assign mail to himself as seen in below image.

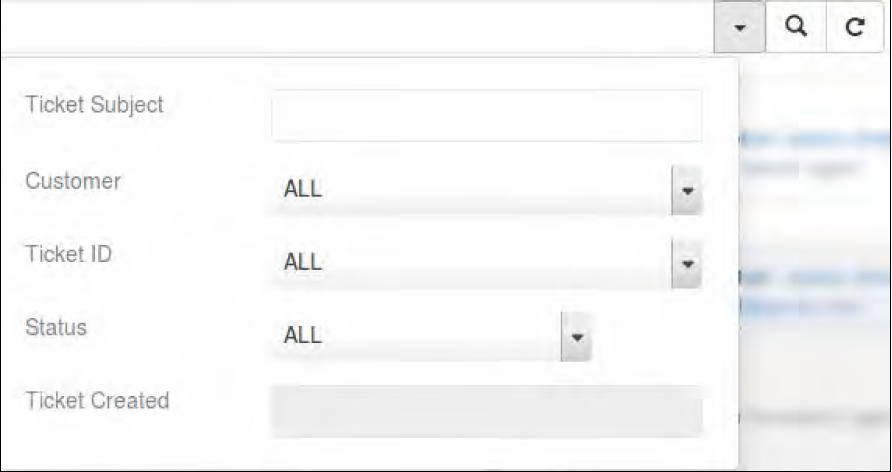
Agent can Search Particular Ticket on the basis of Ticket Subject, Customer name, Ticket ID, Status and Created Time as seen in below image.
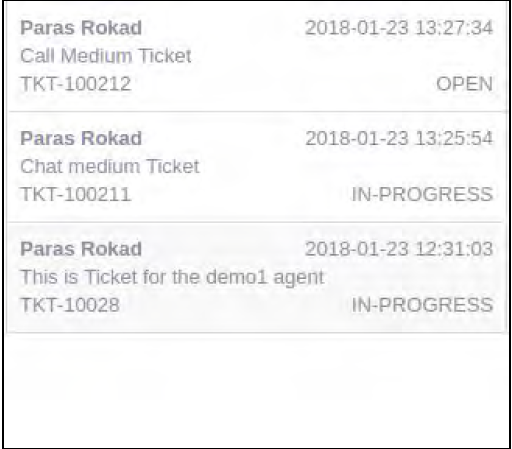
At the Left Side, All the Ticket Will be listed with the information like Customer name, Ticket Subject, Ticket ID, Ticket Created Time and Ticket Status as seen in below image.
At the Right Side, Selected Ticket conversation will be displayed As seen below.

In header, ticket ID, customer name and subject will be displayed along with the ticket created time. By clicking on customer name, it shows the complete customer information.
At the right side, there are six option are available.
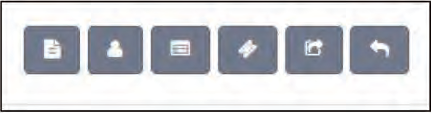
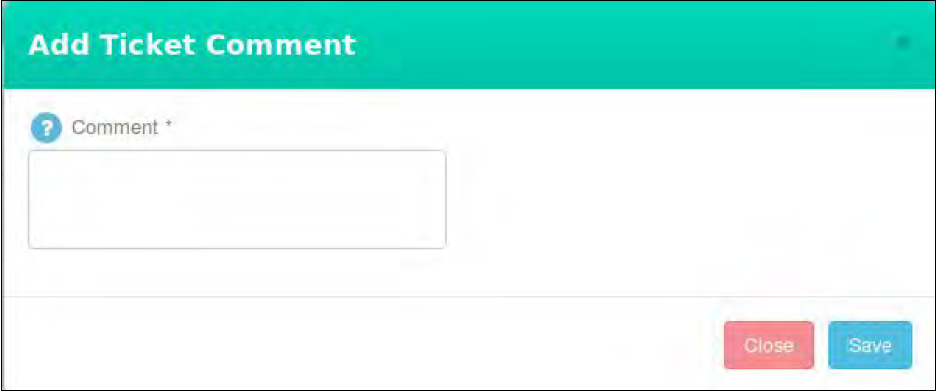
Add comment – By clicking on the leftmost icon (Add Comment) icon, agent can add comment to the tickets
Change Ticket Status – By Clicking on Change Ticket status Icon, agent can change the status of the Tickets.
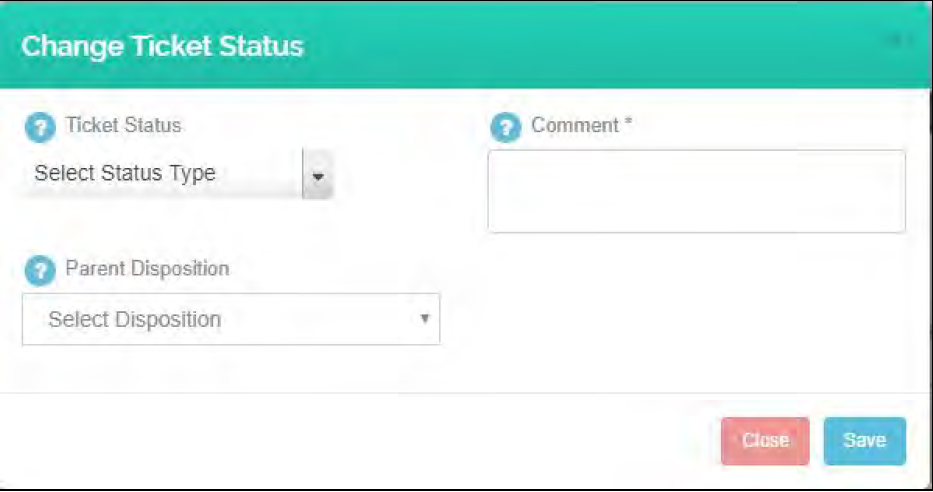
Also, Agent need to select Disposition when changing Status of the ticket.
Change Ticket Category – By Clicking on Change Ticket category Icon,agent can change the Category of the Tickets.

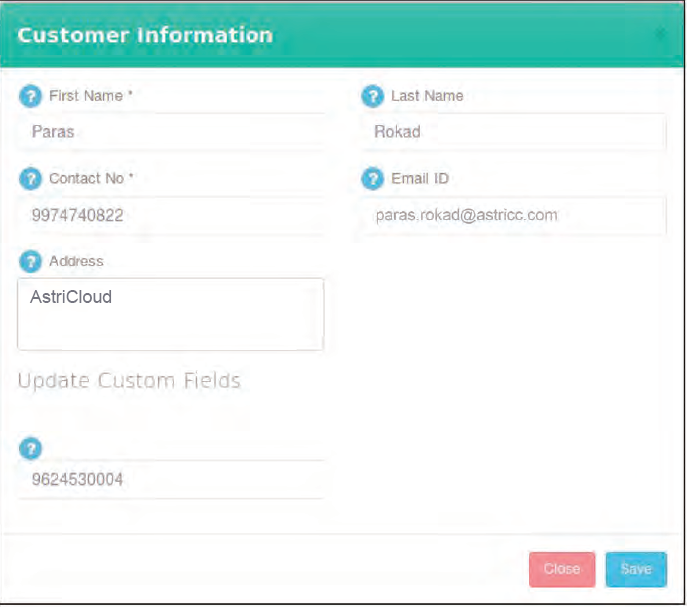
Customer Information – By Clicking on Customer Info icon, Agent Can See the Complete Customer Information for the particular Tickets.
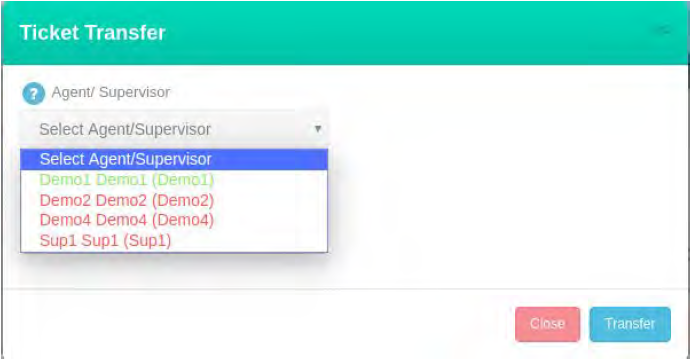
Transfer – By clicking on icon, agent can transfer his own tickets to the other agent/supervisor
Note:- Here, logged in agent will be indicate with green icon and logged out agent will be indicate with red icon
Reply – By Clicking on icon, Agent will be Directly goes to the reply Section From where agent can reply to the ticket.

To Reply any of the Tickets, Agent need to Select Template and enter the details in the body section.
At the Bottom, there are Three options are available. None, Agent Signature and System Signature.
None – If None is selected, then no Signature will be sent in the Reply Mail.
Agent signature – if Agent Signature is selected then Agent Signature will be sent in the reply Mail.(Signature which is set by the agent in their profile)
System signature – if system Signature is selected then Signature which is defined in the Outgoing mail server will be sent in the reply Mail.
Agent Can upload Attachment to this mail by clicking on Send Attachment
Button.
Note :- In Email Details, only those Ticket will be displayed which is received through Email.
Leave A Comment?